Webflow & Google Tag Manager: A Client's Guide
Running a modern website often involves juggling various scripts for analytics, marketing, and enhanced user experiences. As your online presence grows, so does the need for efficient script management.
That's where Google Tag Manager (GTM) comes in – a powerful tool that simplifies this process while offering you flexibility and control.
This guide will walk you through adding scripts to GTM for your Webflow site, with a keen eye on maintaining optimal performance.
Why Use Google Tag Manager?
Google Tag Manager isn't just another tool for your tech stack. It's a real game-changer for managing your Webflow site.
How many times have you needed to add a new analytics script or update a pixel? Without GTM, that means diving into your site's code every single time. It's time-consuming and, let's be honest, a bit nerve-wracking. One wrong move and you could break something.
Centralised control
Google Tag Manager gives you a central place to manage all your tags. No more digging through code or worrying about breaking your site. You can add, edit, or remove tags without touching your Webflow site's core code.
Non-technical accessibility
You don't need to be a coding wizard to use Google Tag Manager. Its user-friendly interface makes it easy for anyone to manage tags, even if you're not tech-savvy.
Version control
Google Tag Manager is like having a safety net. Made a mistake? You can easily roll back changes or test tags before they go live. This means you can be more adventurous with trying new tools or optimisations without the fear of messing up your live site.
Preview and debug
Before pushing any changes live, Google Tag Manager lets you preview how your tags will work on your site. This feature is a lifesaver for catching issues before they affect your live site.
Improved site speed
Google Tag Manager can actually make your site faster when used correctly. It loads scripts more efficiently, which means a snappier experience for your visitors. We all know how important site speed is these days.
Google Tag Manager saves you time, reduces errors, gives you more control, and can boost your site's performance. That's why it's worth your time to get to grips with it.
What You'll Need
Before we begin, ensure you have:
- A Google Tag Manager account
- The script you want to add
- Access to your Webflow site
- Basic understanding of your site's structure and goals
Step-by-Step Guide
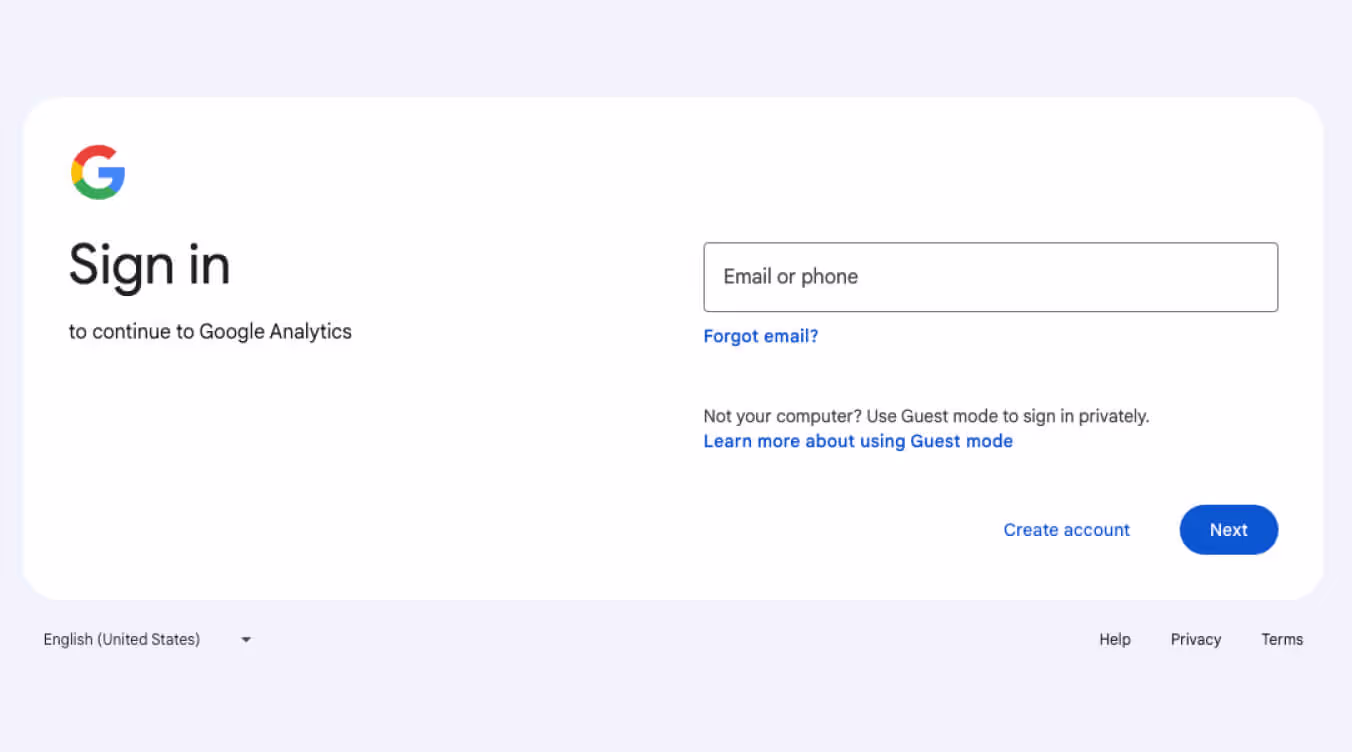
1. Logging into Google Tag Manager
Start by visiting tagmanager.google.com and signing in with your Google account. Once logged in, select your website's container. If you haven't set up a container yet, you'll need to create one for your Webflow site.
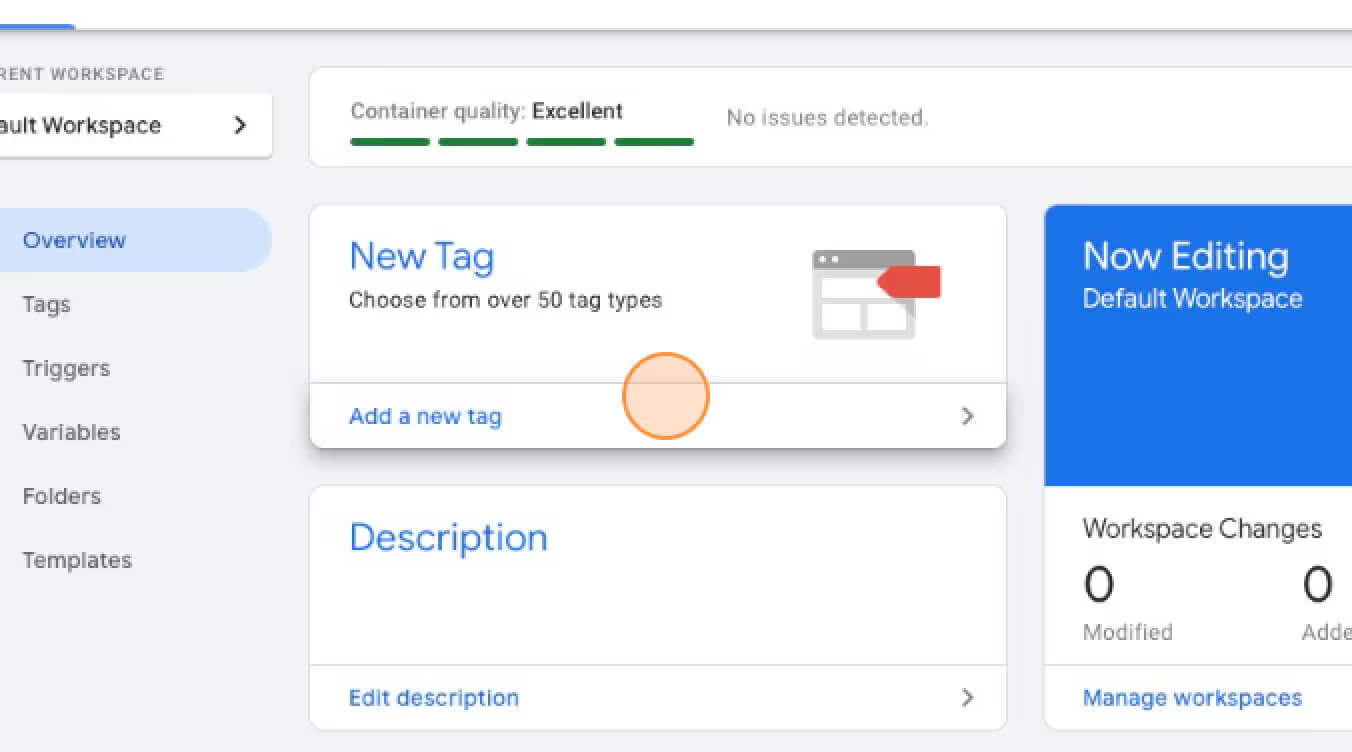
2. Creating a New Tag
In your GTM workspace, navigate to 'Tags' in the left sidebar. Click the 'New' button to begin creating your tag. This is where the magic happens – you're about to add functionality to your site without touching its core code.
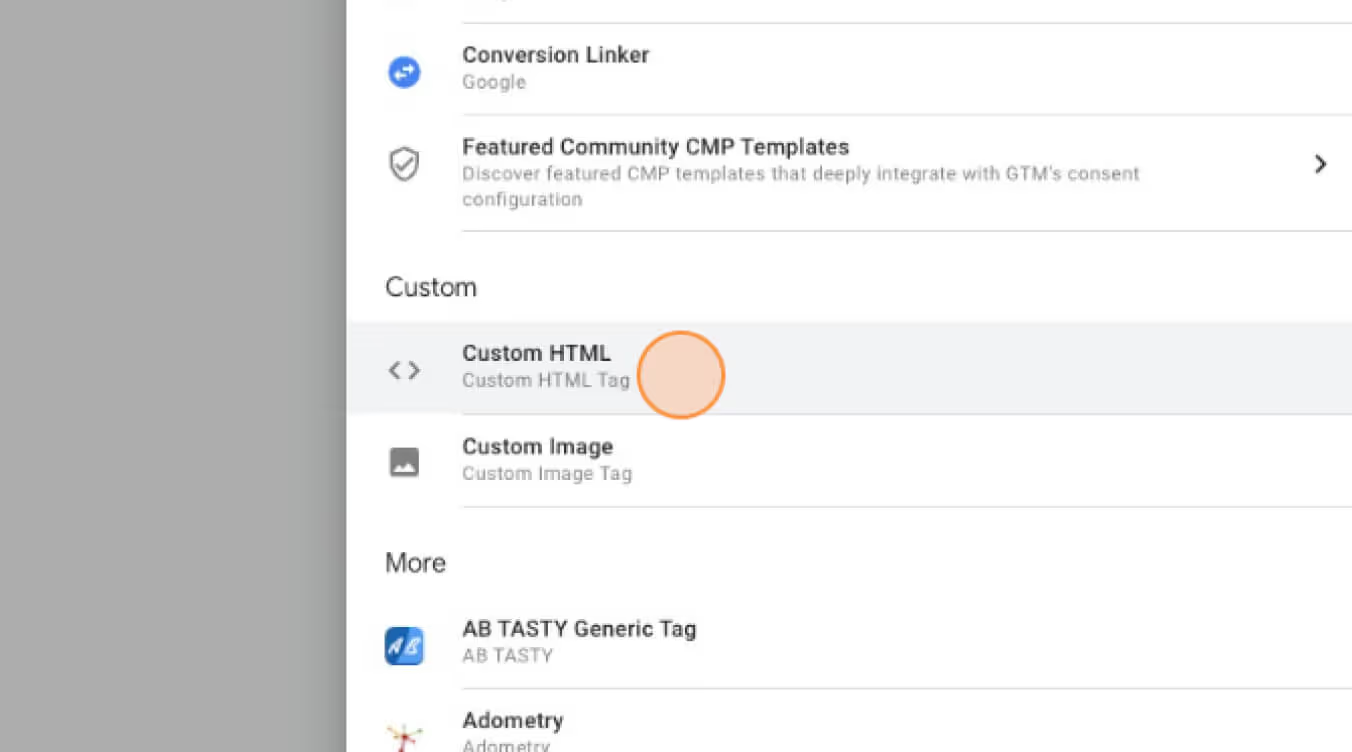
3. Choosing the Tag Type
Click on the tag configuration box. You'll see a list of pre-configured tag types for popular services. For our purposes, select 'Custom HTML' from the list. This option allows you to add any script to your site.
4. Pasting Your Script
In the HTML field that appears, paste the script you want to add. If your script came with specific instructions (like adding 'async' or 'defer' attributes), make sure to include those. These attributes can help improve your site's loading performance.
5. Setting Up Triggers
Next, you'll need to tell GTM when to fire this tag. Click on the 'Triggering' section and choose an appropriate trigger. For scripts that need to run on every page (like analytics), you'll want to select 'All Pages'. However, GTM allows for very specific targeting, so consider carefully where and when your script needs to run.

6. Saving and Publishing Your Changes
Once you're satisfied with your tag configuration, click 'Save'. However, your changes aren't live yet. To push your changes to your live site, hit the 'Submit' button in the top right corner. This two-step process allows you to make and review changes before they affect your live site.

Testing Your New Tag
Before considering the job done, it's crucial to test your new tag:
- Use GTM's preview mode: This allows you to see which tags are firing on your site without publishing changes.
- Visit your website: Use your browser's developer tools to confirm the script is loading correctly.
- Check functionality: Ensure the script is doing what it's supposed to do.
If you run into issues, double-check your tag configuration and triggers. Common problems include incorrect trigger settings or syntax errors in the pasted script.
Best Practices for Using GTM with Webflow
To get the most out of GTM while keeping your Webflow site running smoothly:
- Use GTM for scripts that need frequent updates or A/B testing. For critical, rarely-changing scripts, consider adding them directly to Webflow.
- Keep your GTM workspace organised with clear naming conventions. Future you (or your team) will thank you.
- Regularly audit your tags and remove any that are no longer needed. Digital clutter can slow down your site.
- Take advantage of GTM's built-in templates for common services when available. They're optimised for performance and ease of use.
- Use folders to organise your tags, especially as your GTM container grows.
Understanding and Managing the Performance Impact
While GTM is a powerful tool, it's important to remember that each script you add can impact your site's load time. Here are some strategies to keep your site speedy:
- Only add essential scripts. For each new tag, ask yourself, "Do I really need this? What value does it add to my site or my understanding of user behaviour?"
- Use async or defer attributes when possible. These attributes prevent scripts from blocking page rendering, improving perceived load time.
- Regularly audit and remove unused tags. Just because GTM makes it easy to add scripts doesn't mean you should keep unnecessary ones.
- Consider using GTM's built-in trigger exceptions to prevent tags from firing on pages where they're not needed.
- Utilise Google Tag Manager's debug mode to identify slow-loading or problematic tags.
Final Thoughts
Google Tag Manager can significantly simplify script management on your Webflow site. By following this guide, you can confidently add scripts while keeping an eye on performance. Remember, the goal is to enhance your site's functionality without sacrificing user experience.
As you experiment with GTM, always consider the balance between added functionality and site speed. Your visitors (and search engines) will appreciate a fast, responsive site.
Need more help? Don't hesitate to reach out. We're here to ensure your Webflow site runs smoothly and effectively, leveraging tools like GTM to their full potential.
Happy tagging!